Keep in touch with your customers with the Web Push Notifications. Add-on allows you to send notifications via the Google Firebase service, to devices that support Web Push technology. Attract customers to your store, promote products, services and special offers with Marketing Web Push Notification.
Efficiency for the store
• Communicate with customers
• Promote products, services and special offers
• Increase sales and conversion rate
• Increase purchase probability
Web push notifications have several advantages over other content delivery channels to customers:
• The notifications spring up at the customers' desktop. Independently of any interfaces
• The notification redirects the buyer directly to the store page without distracting actions
• Subscribing to notifications requires only 1 click
How the product works
The add-on provides an ability to send web-push notification using Google Firebase service. Install the add-on, link it with your Google Firebase, create the notification and set its display parameters.
Trial Version
Trial version provides you an add-on with full set of features for the period from 3 days to month in depence on condition of the specific vendor. The add-on will be disabled when the trial perod is expired. In case the add-on has a free version, when the trial period is expired, the add-on functionality will be limited in accordance with abilities of the free version. Purchase a subscribtion to the add-on in order to restore the full functionality of the add-on.
Freemium Version
Available
Free version provides you an ability to use the add-on permanently on special condition. Technical support and individual customization services are not available and the add-on functionality, abilities and adaptation to new cs-cart versions are heavily limited. Purchase the add-on subscription or the lifetime version to get the fully functional add-on version.
By subscription
Available
By purchasing the subscription to the add-on you get the latest version of the add-on. Full functionality of the add-on, its future updates, individual customization and limited amount of free technical support service are available during the subscription period. When the subscription period is expired, the add-on will be disabled on your store. In case the add-on has a “Free Version”, the add-on won’t be disabled but most of its features, technical support services and many other advantages will no longer be available.
Lifetime Version
Available
This subscription type provides a permanent, fully functional version of the add-on. You won’t have to bother with prolongation of subscription, and technical support service will be unlimited for you. Basically, this subscription type is demanded, in case the fully functional add-on version has been previously used, and you have made a certain conclusions about its purpose and efficiency.
Storefront view
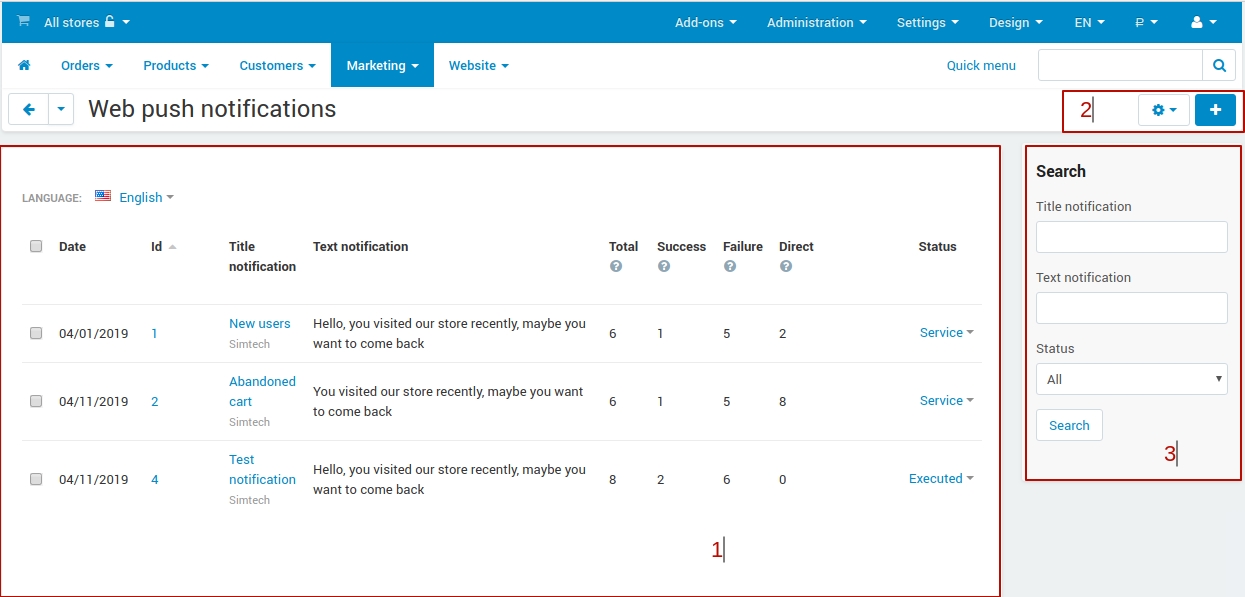
Admin panel view
Storefront view
Admin panel view
Brice
Comment
Simtech is the best, this addon is just beautiful and extraordinary. And what about the support they are just great these guys.
Please sign in so that we can notify you about a reply
Documentation
For full information about add-on`s work and settings please click the button at the bottom